















Field Assembly Guide for M12 Solder-Free Connectors
Field Assembly Guide for M12 Solder-Free Connectors
Introduction
CONNODER is the proprietary industrial connector brand owned by Dongguan Shikang New Energy Technology Co., Ltd. We have focused on the design, production and customized manufacturing of M5, M8, M12, M16 circular solder-free industrial connectors for more than a decade. Our factory runs under ISO9001 quality management system, all products pass RoHS, REACH certification and IP67/IP68 waterproof testing.
Different from generic market connectors, our solder-free terminal internal structure is independently optimized for harsh workshop field assembly: stronger spring clamping force, higher vibration resistance and simpler disassembly operation, greatly lowering the error rate during the Assembly of Solder-Free Connectors process.
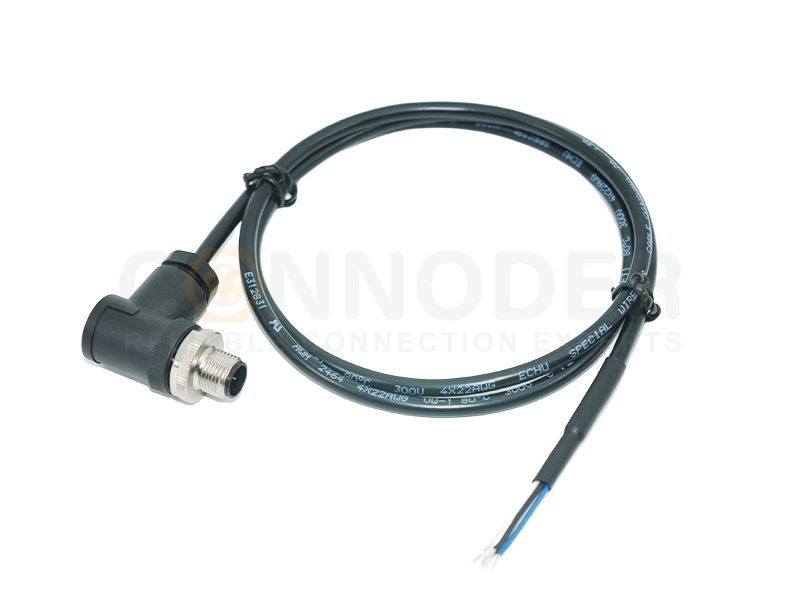
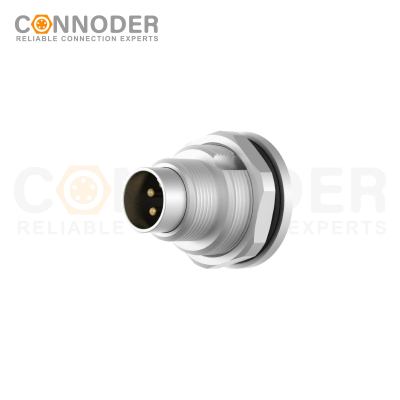
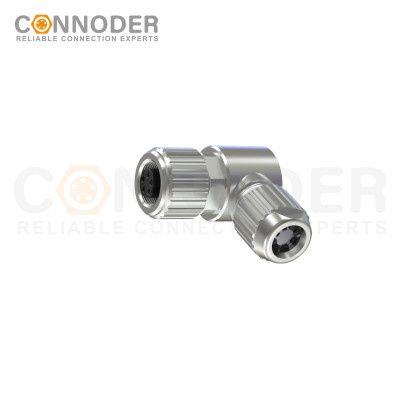
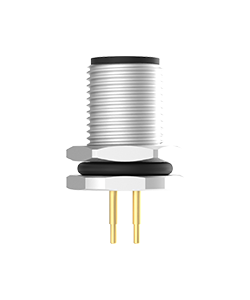
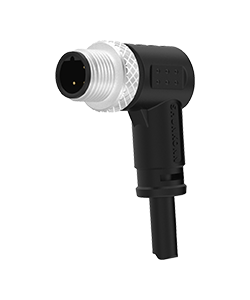
Circular Connectors
Rugged, compact and versatile — ideal when you need mixed power & signal plus environmental protection.
Pre-Work Preparation Before Field Assembly of M12 Solder-Free Connectors
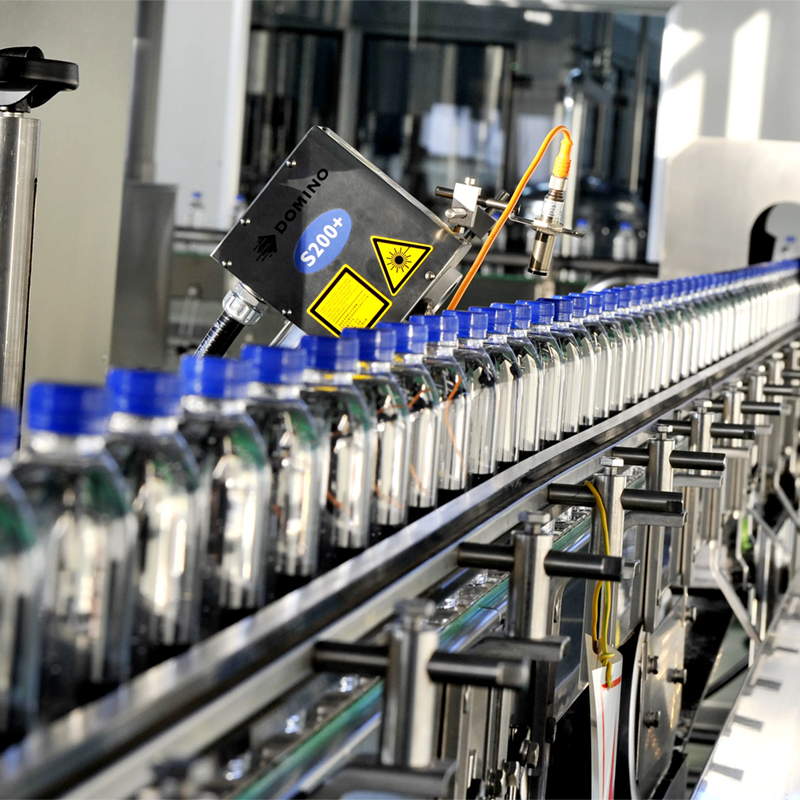
Relying on mature Assembly of Solder-Free Connectors technology and reliable product quality, our M12 circular connectors are exported to Southeast Asia, Europe and North America, serving system integrators and machinery manufacturers in multiple industries:
Automated production line sensors and servo actuator wiring
Industrial Ethernet, machine vision inspection equipment signal transmission
New energy charging equipment, outdoor intelligent monitoring devices
Packaging machinery, logistics conveying equipment daily maintenance wiring
Standard 6-Step Field Assembly Process (Core Part: Assembly of Solder-Free Connectors)
Combining Norcomp official formal installation instructions and Kronz step-by-step wiring tutorials, we revised the operation steps matching CONNODER spring-cage solder-free terminals, which are universal for all our M12 solder-free series products:
Step 1: Cable insulation stripping
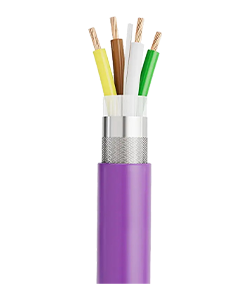
Strip the outer cable jacket to a unified 5–6mm length; twist scattered stranded copper wires tightly to avoid loose strands affecting clamping effect.
Step 2: Thread cables through rear housing accessories
Pass the cable through locking nut, strain relief sleeve and back shell in sequence, reserve enough space for subsequent waterproof locking.
Step 3: Insert wires into corresponding numbered terminals strictly
Follow the official pin assignment diagram to insert each wire into the matched terminal cavity. CONNODER adopts dual spring clamping structure, no welding needed at all to finish wire fixation.
Step 4: Tighten terminal screws with standard torque
Tighten each screw with recommended torque value to clamp copper wires firmly; excessive tightening will cut off copper strands, while insufficient tightening causes loose contacts under mechanical vibration.
Step 5: Complete waterproof sealing assembly
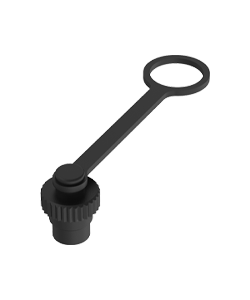
Place the rubber O-ring gasket in the designated groove correctly, align front and rear connector housings, rotate the threaded nut until fully locked to realize IP67 waterproof performance.
Step 6: Electrical performance inspection
Use a multimeter to check conduction and short-circuit conditions between pins. Only after passing the test can the connector be connected to automation equipment formally, marking the completion of qualified Assembly of Solder-Free Connectors.
Most Common Assembly Mistakes & Practical Troubleshooting Solutions
Improper operation during the Assembly of Solder-Free Connectors is the primary reason for intermittent signals, open circuits and waterproof failure of industrial equipment. Summarized from thousands of CONNODER after-sales service cases, the most frequent errors and solutions are as follows:
Too short wire stripping length: Copper wire cannot be fully clamped → Re-strip cable according to 5-6mm standard and reinsert terminals
Confused pin wiring order: Abnormal signal transmission → Disassemble terminals and rewire against official pinout chart
Displaced sealing O-ring: Moisture invades interior leading to short circuit → Reinstall gasket and fully lock connector housing
Over-tightened terminal screws: Copper wire is cut off → Replace damaged wire and fasten screws with specified torque
Widely Applied Industrial Scenarios of CONNODER M12 Solder-Free Connectors
Relying on mature Assembly of Solder-Free Connectors technology and reliable product quality, our M12 circular connectors are exported to Southeast Asia, Europe and North America, serving system integrators and machinery manufacturers in multiple industries:
Automated production line sensors and servo actuator wiring
Industrial Ethernet, machine vision inspection equipment signal transmission
New energy charging equipment, outdoor intelligent monitoring devices
Packaging machinery, logistics conveying equipment daily maintenance wiring
Frequently Asked Customer Questions (FAQ)
Q1: Can I assemble CONNODER M12 solder-free connectors outdoors on rainy days?
A: Our IP67-rated M12 connectors support temporary outdoor assembly. Please complete wiring and waterproof locking rapidly to prevent damp air from entering terminal cavities.
Q2: How long can the spring clamping terminals keep stable under continuous vibration?
A: CONNODER solder-free terminals have passed professional 10 million times vibration aging tests, adapting to long-term continuous operation of automated production lines, far more stable than traditional solder joints.
Q3: Does CONNODER support customized M12 connectors with special pin definitions?
A: Yes. We provide full OEM & ODM customization services for M5/M8/M12/M16 series solder-free connectors according to customer technical parameters. Free product samples are available for your performance testing.
Conclusion
Mastering standardized Assembly of Solder-Free Connectors and field installation skills for M12 plugs can drastically improve industrial wiring efficiency and cut equipment downtime caused by wiring faults.
As a professional Chinese manufacturer focusing on industrial solder-free circular connectors, CONNODER not only supplies high-quality M12 full-series solder-free connectors, but also provides customers with free downloadable PDF assembly manuals, one-on-one technical guidance and customized wiring harness solutions.
If you need sample application, technical parameter consultation or bulk procurement quotation, welcome to contact our professional sales and technical team anytime.
What is the advantage of M12 solder-free connectors over traditional soldered connectors?
M12 solder-free connectors greatly improve on-site assembly efficiency, requiring no soldering tools or heating. They feature reusable terminals, stronger vibration resistance, stable IP67 waterproof performance, and lower maintenance costs, perfectly suited for rapid field wiring and outdoor industrial installation.
What are the standard steps for field assembly of M12 solder-free connectors?
The standard field assembly process includes 6 core steps: cable stripping, threading housing accessories, wire terminal insertion, torque screw tightening, waterproof sealing assembly, and final electrical continuity testing, achieving standardized Assembly of Solder-Free Connectors without soldering.
What causes poor contact during M12 solder-free connector assembly?
Common causes include inappropriate wire stripping length, misaligned pin wiring, displaced waterproof O-rings, and unreasonable screw tightening torque. These assembly errors will lead to loose signals, open circuits or short circuits.
Are CONNODER M12 solder-free connectors suitable for outdoor field assembly?
Yes. CONNODER M12 solder-free connectors adopt IP67 waterproof grade, pass professional vibration aging tests, support temporary outdoor field assembly, and are widely used in automation equipment, monitoring and new energy equipment wiring scenarios.
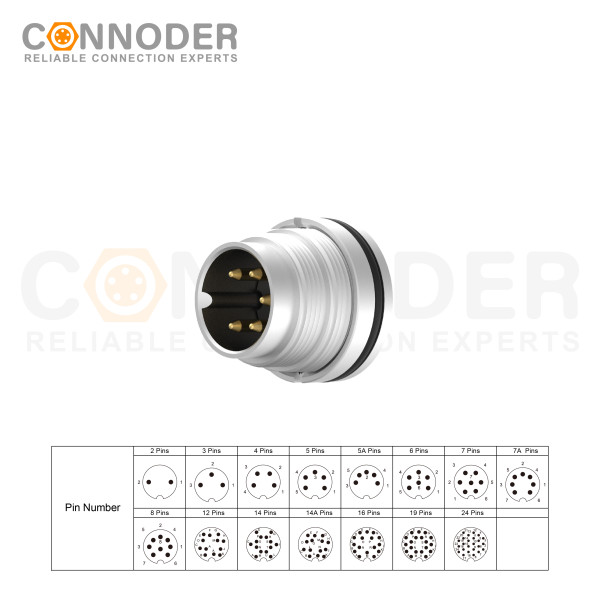
M16 6 Pin Circular Connector A-Code Interface, Waterproof Connector Receptacle Cable, Straight, Front-Locking, Unshielded
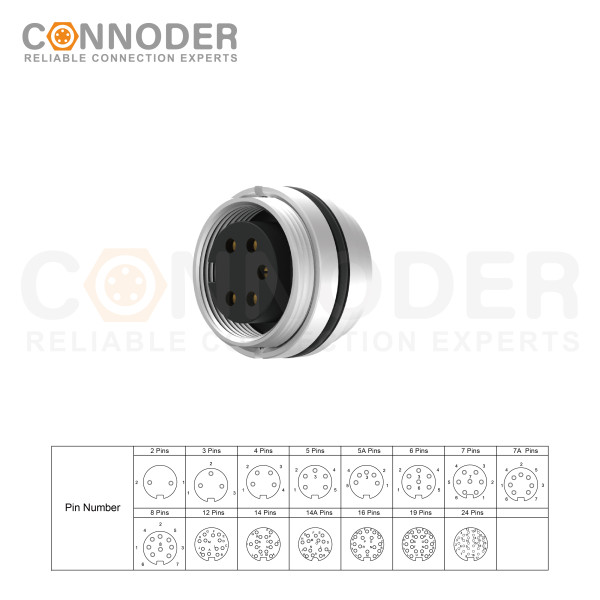
M16 6 Pin Circular Connector assemblies are ideal for demanding industrial applications such as industrial automation and aerospace, marine, and telecom systems.
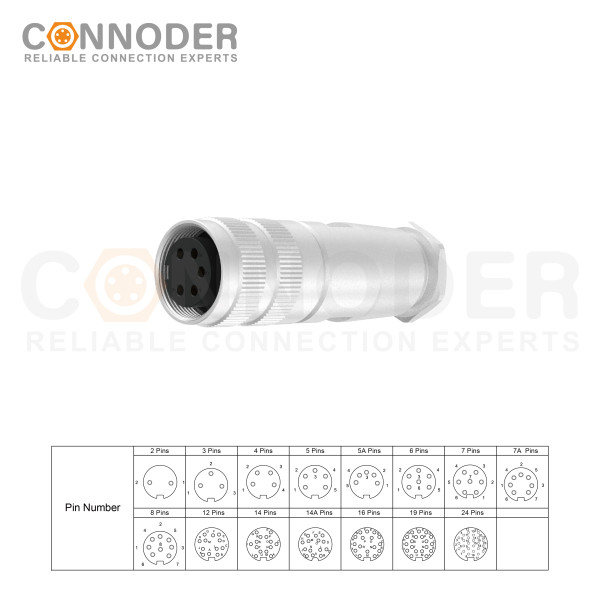
M16 6 Pin Circular Connector are ideal for demanding industrial applications such as industrial automation and aerospace, marine, and telecom systems. M16 Circular Connector are available in quick-lock wiring assembly types with IP67 protection and a vibration-resistant screw design.
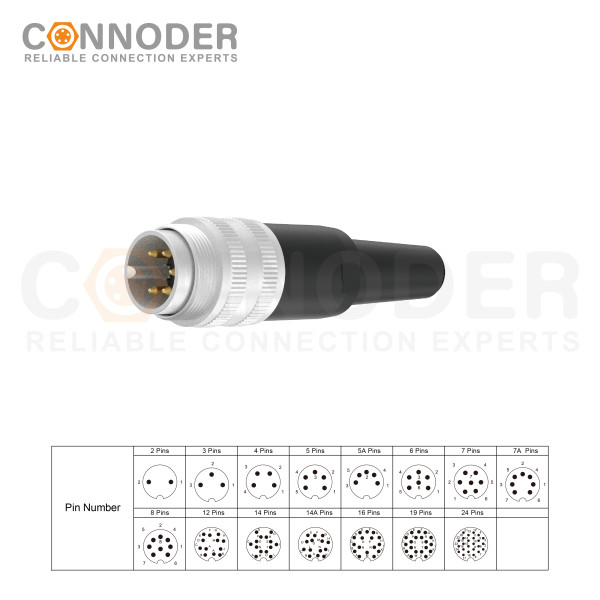
M16 6 Pin Circular Connector are ideal for demanding industrial applications such as industrial automation and aerospace, marine, and telecom systems. M16 Sensor connector are available in quick-lock wiring assembly types with IP67 protection and a vibration-resistant screw design.