














How to maintain metal circular aviation connectors to extend their service life?
How to maintain metal circular aviation connectors to extend their service life?
Introduction
Circular connectors are electrical connectors with a round mating interface, designed to transmit power, signal, or data between devices. Their cylindrical structure enables secure locking, excellent vibration resistance, and long service life, making them suitable for both industrial systems and consumer applications.
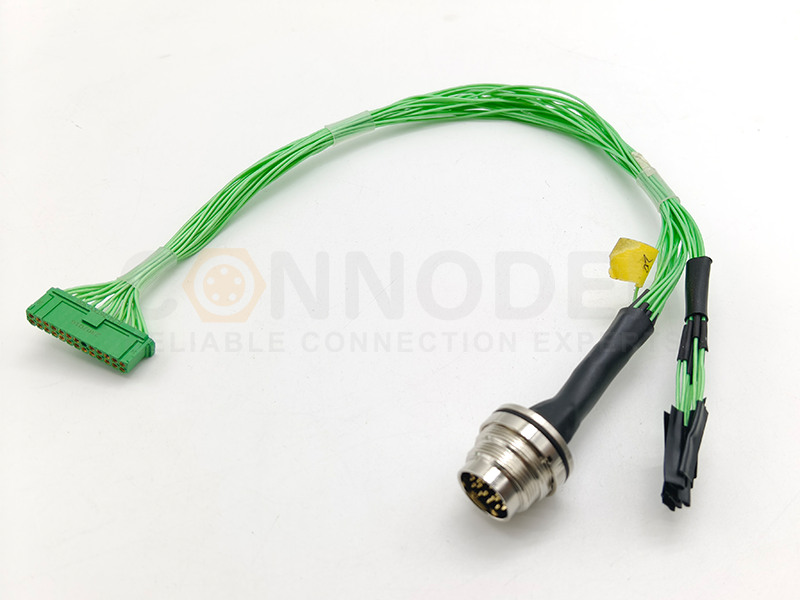
Circular Connectors
Rugged, compact and versatile — ideal when you need mixed power & signal plus environmental protection.
Why Is Maintenance of the Metal Casing of the Connector Important?
A circular connector normally consists of several interconnected components, including the shell, insulator, contacts, coupling mechanism, sealing elements, and cable strain relief.
The metal casing provides structural support and helps protect these internal components from external mechanical and environmental stresses.
Industry guidance on aviation connectors identifies corrosion, contamination, seal degradation, vibration, mechanical stress, and contact wear as important factors affecting connector reliability.
Regular casing maintenance can help engineers:
Detect corrosion at an early stage
Prevent oxidation from spreading
Protect surface plating
Keep coupling threads functional
Protect sealing surfaces
Reduce contamination
Identify mechanical damage
Prevent premature connector replacement
Extend connector service life
Reduce unexpected equipment downtime
For harsh‑environment applications, maintenance should therefore be considered part of the connector's complete lifecycle rather than an afterthought.
What Causes Metal Circular Connector Casings to Deteriorate?
Understanding the causes of casing deterioration is the first step toward effective maintenance.
Moisture and Humidity
Moisture can accelerate oxidation and corrosion on exposed metal surfaces. Condensation is particularly problematic when equipment experiences frequent temperature changes. If moisture enters the connector interface, it can also contribute to corrosion and insulation degradation.
Salt and Coastal Exposure
Salt‑laden air can significantly increase the corrosion risk of metal components.
Connectors used in:
Marine equipment
Coastal industrial facilities
Outdoor equipment
Offshore systems
may require more frequent inspection and cleaning than connectors operating in controlled indoor environments.
Chemicals and Industrial Contaminants
Industrial connectors may be exposed to:
Oils
Hydraulic fluids
Cleaning agents
Fuels
Solvents
Chemical vapors
Some chemicals can affect surface finishes, seals, plastics, or other connector components.
Vibration and Mechanical Shock
Vibration can gradually loosen coupling mechanisms and create repeated micro‑movements between mating components. In aviation applications, vibration and thermal cycling can contribute to fretting corrosion and mechanical wear. Similar problems can occur in industrial automation, robotics, rail transportation, and machinery.
Dust and Foreign Particles
Dust and foreign particles can accumulate around threads, seals, and mating interfaces. If contamination is repeatedly compressed or dragged across mating surfaces, it can accelerate wear.
Damaged Surface Plating
Many metal connector housings use plating or other surface treatments to improve corrosion and wear resistance. Deep scratches, abrasion, or peeling plating can expose the underlying material and increase the risk of corrosion.
How to Inspect the Metal Casing of a Circular Connector
A regular visual inspection is one of the simplest and most effective ways to identify early connector problems.
1. Inspect the Outer Shell
Look for:
Rust
Oxidation
Discoloration
Scratches
Dents
Cracks
Pitting
Deformation
Minor surface contamination may be removable through appropriate cleaning, but deep corrosion or structural damage may indicate that replacement is necessary.
2. Check the Plating
Inspect high‑wear areas such as:
Threads
Coupling surfaces
Mating areas
Mounting interfaces
Shell edges
Pay particular attention to peeling, abnormal discoloration, or exposed base material.
3. Inspect Threads
For threaded circular connectors, make sure the threads are: Clean, Undamaged, Free from metal particles, Free from excessive corrosion, Properly aligned. The coupling mechanism should engage smoothly without abnormal resistance.
4. Inspect Seals and O‑Rings
The connector shell cannot provide environmental protection by itself. Check O‑rings, Gaskets, Backshell seals, Cable‑entry seals, Overmolded areas for cracking, hardening, deformation, or aging.
5. Check the Cable Strain Relief
A damaged strain‑relief structure can transfer excessive mechanical loads to the connector. The connector should not be used as a substitute for proper cable support.
How to Clean the Metal Casing of a Connector
Cleaning should remove contaminants while protecting the casing, plating, seals, and electrical components.
Step 1: Disconnect the Equipment
Before performing maintenance, follow the equipment manufacturer's safety procedures and isolate the connector from the relevant electrical system. For aviation or safety‑critical equipment, always follow the applicable maintenance documentation and approved procedures.
Step 2: Remove Loose Dirt
Use a soft, lint‑free cloth or suitable non‑abrasive brush. Remove dust, loose particles, salt deposits, surface dirt. Avoid sharp metal tools that could scratch the protective finish.
Step 3: Use an Approved Cleaning Agent
The cleaning agent must be compatible with the connector materials. Depending on the specific connector and manufacturer instructions, products such as isopropyl alcohol or specialized contact cleaners may be suitable. However, there is no universal cleaning chemical for every connector. The manufacturer's approved maintenance procedure should always take priority. Aviation connector maintenance guidance specifically emphasizes using approved cleaning agents and avoiding chemicals that can damage plating, insulation, adhesives, or seals.
Step 4: Clean the Threads
Threads should be free of dirt, corrosion products, metal particles, contaminated lubricant, chemical residue. Do not aggressively scrape the threads.
Step 5: Dry Completely
After cleaning, make sure the connector is completely dry before reassembly. Trapped moisture can create conditions for corrosion and electrical degradation.
Step 6: Inspect Again
Cleaning can reveal damage that was previously hidden under dirt or deposits. After cleaning, check the casing again for pitting, plating loss, scratches, corrosion, deformation.
How to Prevent Corrosion on Metal Circular Connector Casings
Preventive maintenance is generally more effective than waiting until severe corrosion has developed.
Choose the Right Shell Material
Connector casing material should be selected according to the application. Important factors include:
Corrosion resistance
Mechanical strength
Temperature resistance
Chemical resistance
Weight
Surface treatment
Environmental exposure
Select Appropriate Surface Treatment
The surface finish can influence resistance to corrosion and mechanical wear. When comparing connectors, engineers should consider not only the base metal but also the quality and suitability of its surface treatment.
Protect Unmated Connectors
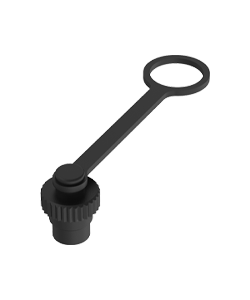
When connectors are not mated, suitable protective caps or covers can help keep contaminants and moisture away from the interface. This is especially important in coastal environments, outdoor installations, dusty factories, marine applications, chemical processing areas.
Protect the Sealing System
A connector's environmental protection depends on the complete sealing system. Damaged O‑rings, gaskets, backshells, and cable‑entry seals should be inspected and replaced according to the relevant manufacturer's requirements.
Control Storage Conditions
Spare connectors should be stored in a clean, dry environment. Where appropriate, protective packaging and humidity control can help reduce oxidation and seal aging during long‑term storage.
How to Extend the Service Life of Circular Connectors Through Proper Installation
Maintenance starts before the connector enters service. Correct installation can significantly reduce future maintenance problems.
Avoid Excessive Cable Stress
Use appropriate strain relief and cable routing. Avoid sharp cable bends, excessive pulling, continuous cable tension, unsupported connector weight.
Use the Correct Tools
For applicable connector types, use manufacturer‑specified crimping tools, dies, torque tools, inspection equipment. Improper tools can damage terminals or produce inconsistent connections.
Avoid Cross‑Threading
For threaded circular connectors, begin thread engagement carefully and ensure proper alignment.
Confirm Complete Locking
After mating, verify that the coupling mechanism is fully engaged.
Keep Unmated Interfaces Protected
Do not leave sensitive connector interfaces unnecessarily exposed to dust, moisture, or chemicals.
How Often Should Metal Circular Connectors Be Maintained?
There is no single maintenance interval that applies to every connector. The appropriate inspection frequency depends on operating environment, connector criticality, mating frequency, temperature cycling, vibration, moisture exposure, salt exposure, chemical exposure, manufacturer recommendations.
For example, connectors used in a dry indoor factory may require less frequent inspection than connectors installed in a coastal outdoor system. A practical approach is to establish a risk‑based maintenance schedule.
Low‑Risk Environment
Periodic visual inspection and cleaning may be sufficient.
Moderate‑Risk Environment
Increase inspection frequency and monitor corrosion, seals, and coupling mechanisms.
Harsh Environment
Use more frequent inspections and pay particular attention to:
Corrosion
Salt deposits
Seal deterioration
Plating wear
Thread condition
Moisture ingress
Aviation maintenance guidance similarly recommends adapting inspection and cleaning intervals to environmental conditions, with salt‑laden environments requiring greater attention.
7 Best Practices for Extending Metal Circular Connector Service Life
Inspect the Metal Casing Regularly — Look for corrosion, oxidation, plating wear, cracks, and deformation.
Clean Contamination Early — Do not allow salt, dust, oil, or chemicals to accumulate.
Use Approved Cleaning Methods — Avoid aggressive solvents and abrasive tools that may damage the connector.
Protect Threads and Coupling Components — Avoid cross‑threading and excessive mechanical force.
Protect Seals — Inspect O‑rings, gaskets, backshells, and cable‑entry seals.
Match the Connector to the Environment — Consider material, plating, IP protection, temperature, vibration, and chemical exposure.
Maintain Records — Document inspections, cleaning, failures, and replacement decisions so recurring problems can be identified.
Why is the maintenance of metal circular connector housings critical?
The metal housing acts as the core protective structure of a connector, providing mechanical support, shielding performance and sealing protection. Regular maintenance helps detect corrosion, coating damage and thread wear at an early stage, preventing unexpected equipment shutdown and premature failure, and greatly extending the service life of connectors and devices.
What are the main causes of aging and damage to industrial circular connector metal housings?
Primary factors include humidity and salt‑spray corrosion, erosion from industrial chemical contaminants, long‑term vibration and impact, abrasion by dust particles and scratches that peel off surface coatings. These issues commonly occur in harsh outdoor, coastal, chemical and automation industrial environments.
What is the core procedure for daily maintenance of metal circular connectors?
The core workflow covers five steps: regular visual inspection of threads and sealing rings, dust‑free cleaning without abrasives, washing with compliant cleaning agents, thorough air‑drying for moisture prevention and re‑inspection after cleaning. Violent operations and improper chemical reagents that damage coatings and seals should be avoided throughout the process.
How can we effectively prolong the service life of metal circular connectors?
Full‑lifecycle maintenance is required: select connectors with suitable materials and coatings according to working conditions, carry out daily anti‑corrosion cleaning, protect threads and sealing components, install properly to reduce cable stress, and formulate periodic inspection plans based on environmental risks. Proper product selection fundamentally cuts maintenance costs.
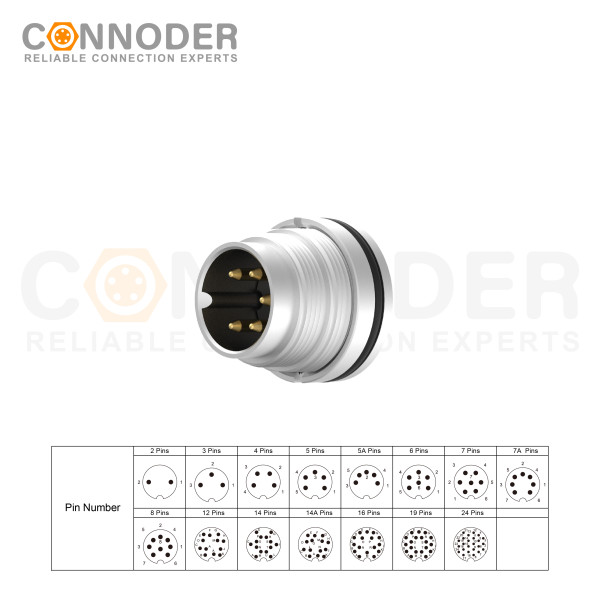
M16 6 Pin Circular Connector A-Code Interface, Waterproof Connector Receptacle Cable, Straight, Front-Locking, Unshielded
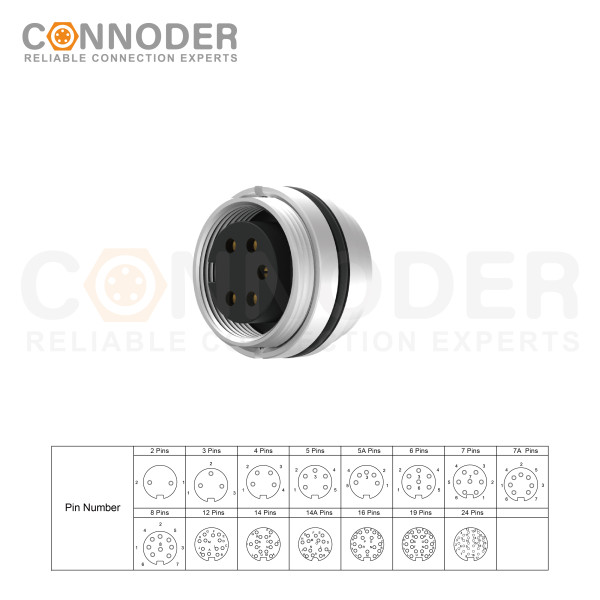
M16 6 Pin Circular Connector assemblies are ideal for demanding industrial applications such as industrial automation and aerospace, marine, and telecom systems.
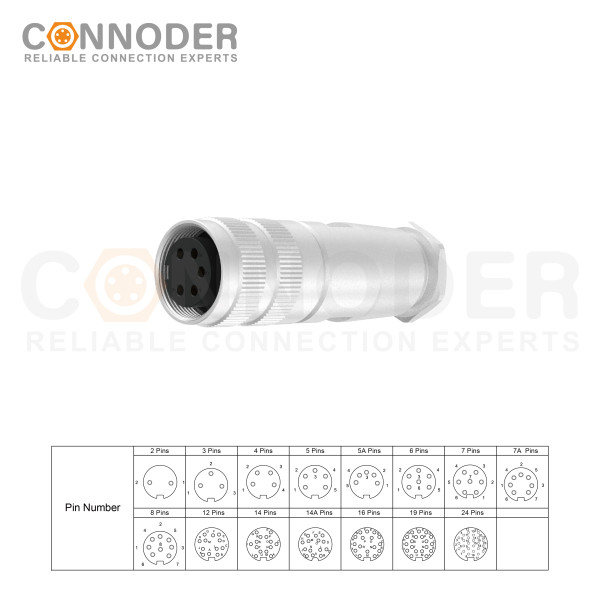
M16 6 Pin Circular Connector are ideal for demanding industrial applications such as industrial automation and aerospace, marine, and telecom systems. M16 Circular Connector are available in quick-lock wiring assembly types with IP67 protection and a vibration-resistant screw design.
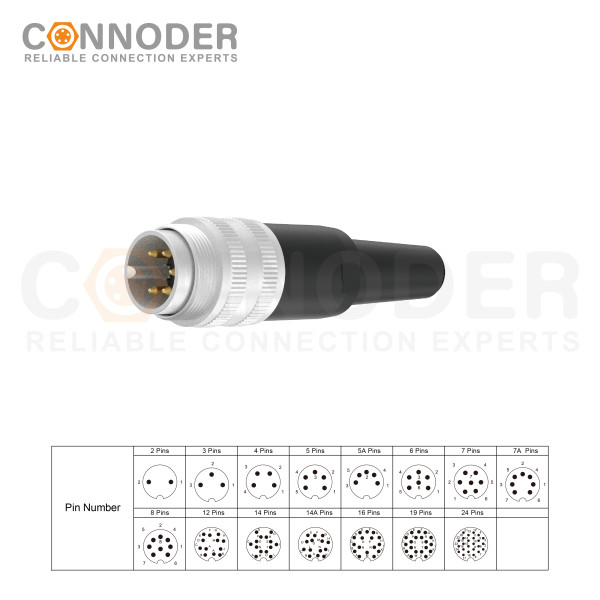
M16 6 Pin Circular Connector are ideal for demanding industrial applications such as industrial automation and aerospace, marine, and telecom systems. M16 Sensor connector are available in quick-lock wiring assembly types with IP67 protection and a vibration-resistant screw design.